Before you start
Install your Ozly eSIM before you travel if you can. Installation needs Wi-Fi or a reliable internet connection, and it should not be done over tethered hotspot Wi-Fi.
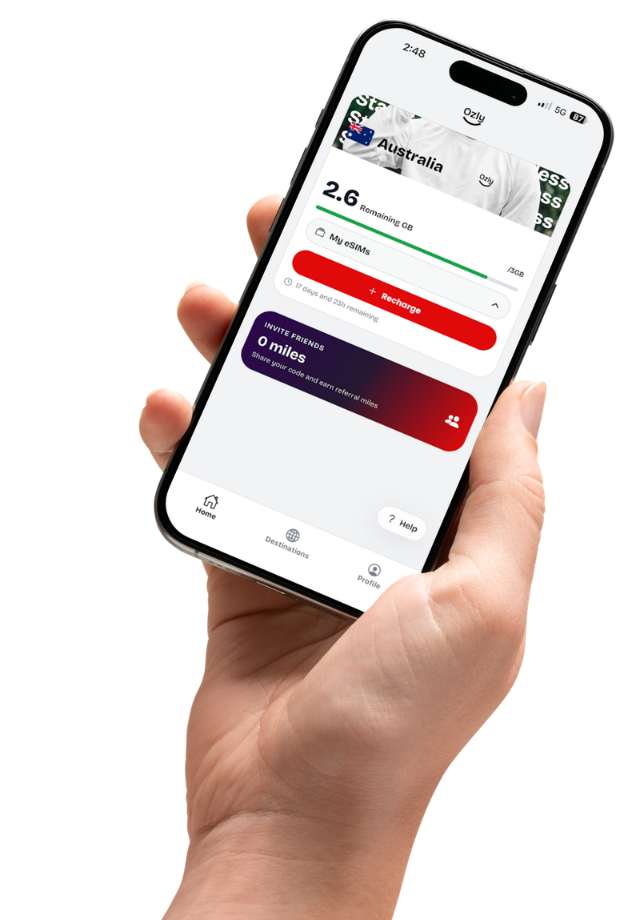
Installing is different from connecting. Your eSIM can be installed before your trip, then it connects once you arrive in the destination covered by your plan.
Install your eSIM
- Open your Ozly activation email while connected to Wi-Fi.
- Tap Install on Android, or open Settings > Connections > SIM manager > Add eSIM.
- Follow the prompts your Samsung phone displays.
- If you are scanning the QR code, use the phone's camera or Samsung's eSIM scanner.
- For code setup, choose Scan QR code from service provider, then Need help? or Enter code manually.
- Use the installation code from your Ozly email, then tap Connect or Download.
- Name the eSIM Ozly or Travel so it is easy to select later.
When you land
- Open Settings > Connections > SIM manager.
- Make sure your Ozly eSIM is turned on.
- Set Mobile Data to your Ozly eSIM.
- Go to Connections > Mobile Networks and turn Data Roaming on.
It can take up to 15 minutes to join a network for the first time. If it does not connect right away, turn flight mode on for 30 seconds, then turn it off again.
A few useful notes
- Follow the prompts your phone displays during setup. The exact wording can vary by device and software version.
- Do not delete the Ozly eSIM after installation. Removing it can permanently remove the profile from that device.
- If your phone says it cannot activate before you travel, that can be normal. The eSIM connects when it reaches the supported destination network.
- To avoid unexpected roaming charges from your home provider, check roaming settings on your primary SIM before you leave.